Introduction
An off grid solar setup is the best way to keep your home office running smoothly without energy interruptions. Working remotely requires constant power for laptops, Wi-Fi routers, and lighting. With a dedicated off grid solar setup, you can power your daily workstation independently, lower electricity costs, and avoid sudden power cuts.
1. Calculate Your Off Grid Solar Setup Power Requirements
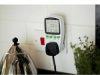
Before purchasing equipment, you need to calculate your total daily energy consumption in watt-hours (Wh).
Typical Home Office Load Breakdown:
- Laptop (Type-C Charging): 45W–65W (Running 8 hours = ~400Wh)
- Wi-Fi Router & Modem: 12W–15W (Running 10 hours = ~130Wh)
- 27-inch LED Monitor: 25W–30W (Running 8 hours = ~200Wh)
- Desk Lamp & Mobile Charger: 15W (Running 5 hours = ~75Wh)
Total Daily Requirement: Around 800Wh to 850Wh per day.
2. Key Components of an Off Grid Solar Setup
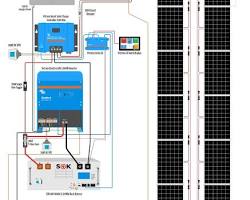
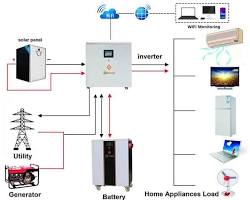
To build a reliable off grid solar setup, you will need the following components tailored specifically for a home office load:
| Component | Recommended Specification | Purpose |
| Solar Panels | 200W–250W Monocrystalline | Captures sunlight and generates DC power |
| Charge Controller | 20A MPPT | Regulates voltage and charges the battery safely |
| Battery Storage | 12V 100Ah LiFePO4 Lithium | Stores power for night or cloudy days |
| Power Inverter | 500W Pure Sine Wave | Converts DC battery power to AC for electronics |
3. Step-by-Step Guide to Installing Your Off Grid Solar Setup
Step 1: Position the Solar Panel
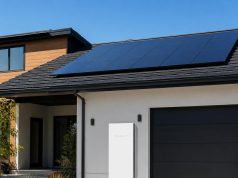
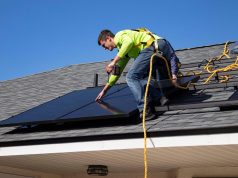
Place the solar panel on your balcony, roof, or window ledge where it receives direct sunlight for at least 5 to 6 hours daily. Angle it towards the south (for the Northern Hemisphere) at approximately 15°–30° for maximum yield.
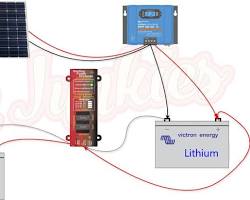
Step 2: Connect the Controller to the Battery FIRST
Always connect your battery to the charge controller before connecting the solar panel. This allows the controller to detect the system voltage (12V) correctly. Use fused copper cables for safety.
Step 3: Wire the Solar Panel to the Controller
Connect the positive (+) and negative (-) leads from your solar panel into the designated PV input terminals of the MPPT controller.
Step 4: Hook Up the Inverter
Connect the inverter directly to the battery terminals using heavy-gauge cables. Plug your home office extension strip into the inverter’s AC outlet.
4. Maintenance and Safety Tips for Your Off Grid Solar Setup
- Use Pure Sine Wave Inverters: Avoid cheap modified sine wave inverters, as they can damage sensitive electronics like laptops and monitors over time.
- Add In-Line Fuses: Install an appropriately sized fuse between the battery and the inverter to prevent short-circuit risks.
- Monitor Battery Health: Lithium (LiFePO4) batteries are recommended over Lead-Acid because they last longer (over 3,000 cycles) and accept faster charging.
Learn more about solar safety standards and panel technology on Wikipedia’s Solar Energy Guide.
Conclusion
Setting up a mini off grid solar setup for your home office is a one-time investment that guarantees power reliability and lowers your monthly energy bills. With simple components and basic wiring, your workstation can remain fully operational regardless of local power grid stability. battery safety and options, check out our guide on Best Solar Battery Storage Options for Home.